Keeping your commercial floors clean and sparkling takes more than just a quick sweep. A proper floor cleaning and maintenance system is key to extending the life of your floors, maintaining a professional appearance, and creating a safe and healthy environment for your staff and customers.
For proper hard floor cleaning and maintenance, a cyclical procedure should be used.
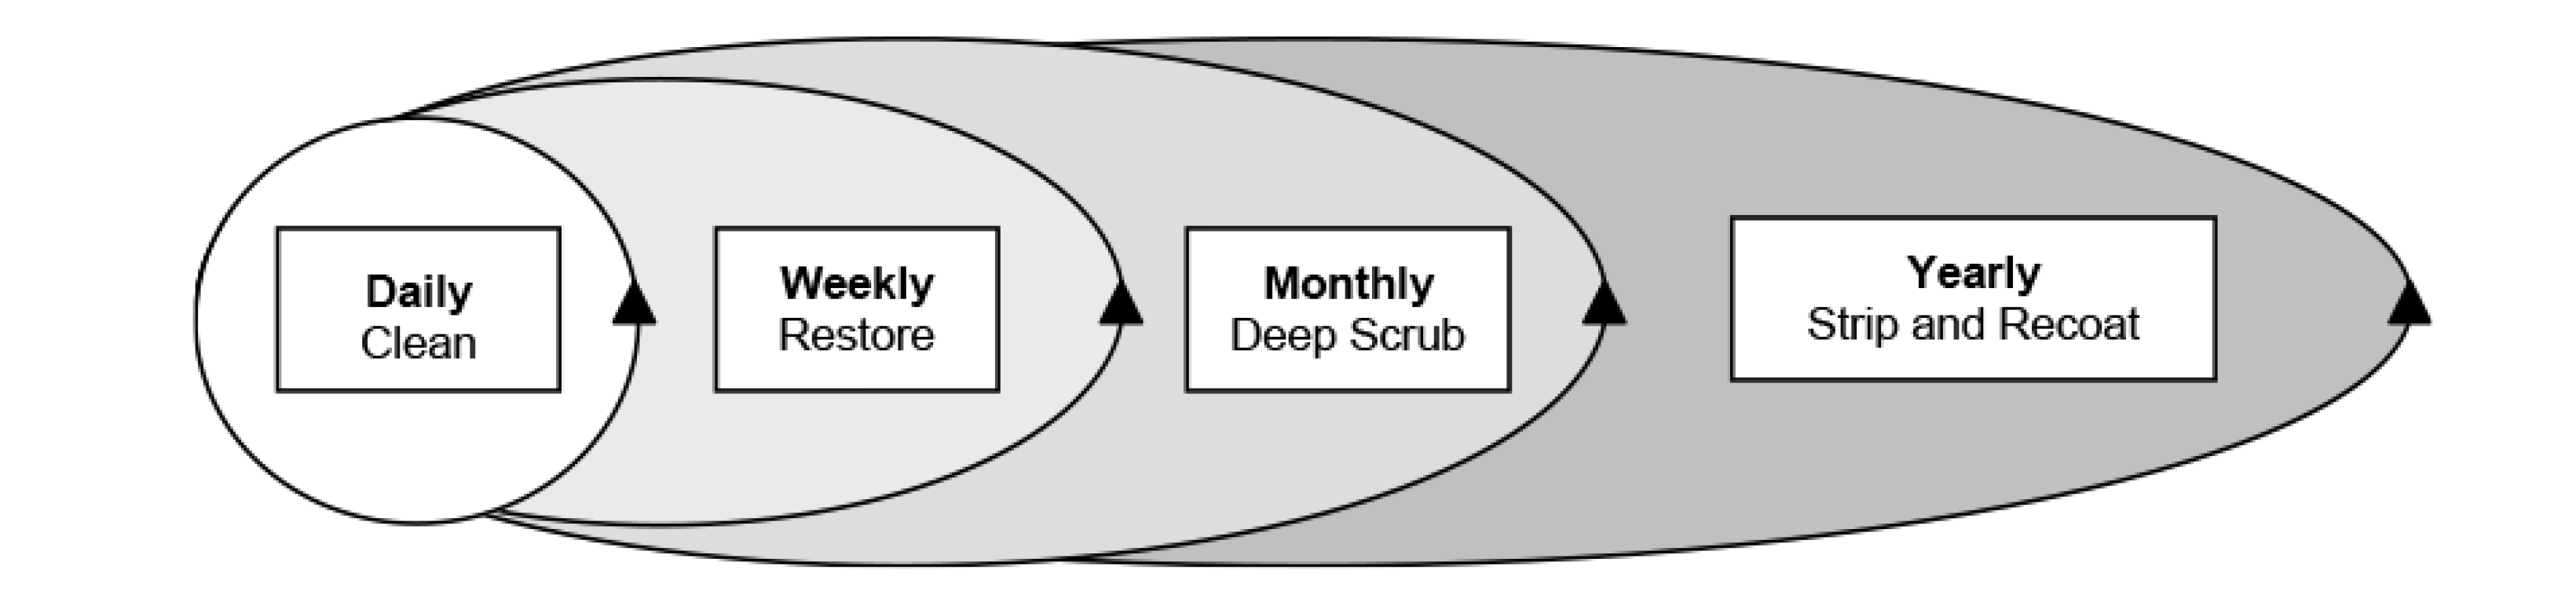
Daily Floor Cleaning and Maintenance Routine
Daily maintenance plays a crucial role in preventing premature wear and maintaining gloss levels. Additionally, the strategic use of mats significantly contributes to reducing dirt penetration. Research indicates that a high-quality mat spanning 7 meters can effectively intercept 86% of dirt tracked into a building, underlining the importance of this preventive measure. Without matting, the wear and tear on a floor coating can escalate, with 1500 people walking over an area being sufficient to remove over 40% of a two-coat application.

- Place “Wet Floor” Signs: Position signs to alert individuals to freshly cleaned or wet areas, ensuring their safety.
- Remove and Clean Floor Mats: Regularly clean mats, as they serve as a frontline defence against dirt accumulation. A clean mat is more effective in preventing particles from entering the building.
- Pick Up Large Debris and Trash: Remove large debris and trash to prevent any abrasive damage to the floor coating during routine cleaning.
- Sweep or Dust Mop Floors: Use an untreated dust mop for daily sweeping or dust mopping to control and remove loose dirt effectively.
- Remove Gum and Stickers: While dust mopping, remove gum and stickers using knife or scraper.
- Spot Mop Heavily Soiled Areas: Spot mop promptly using a neutral cleaner as per label instructions.
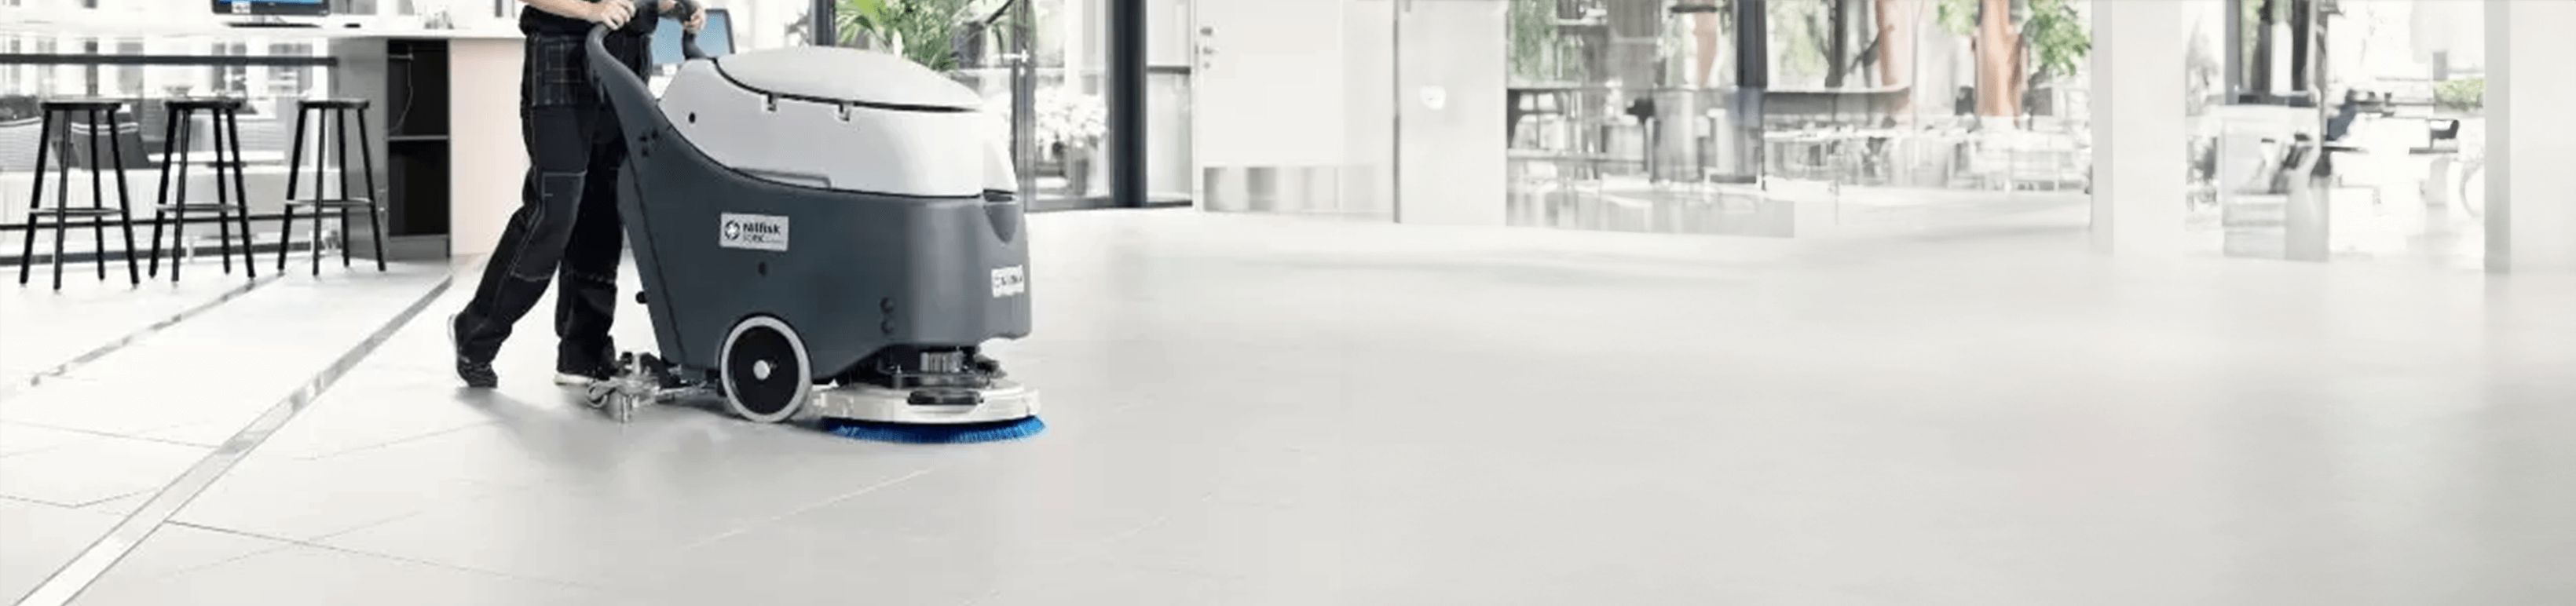
- Clean Whole Floor: Use an auto scrubber or mop and bucket with neutral cleaner for a cleaning the entire floor surface.
- Allow to Dry: Ensure the floor is completely dry before proceeding to the next step to prevent any potential slip hazards.
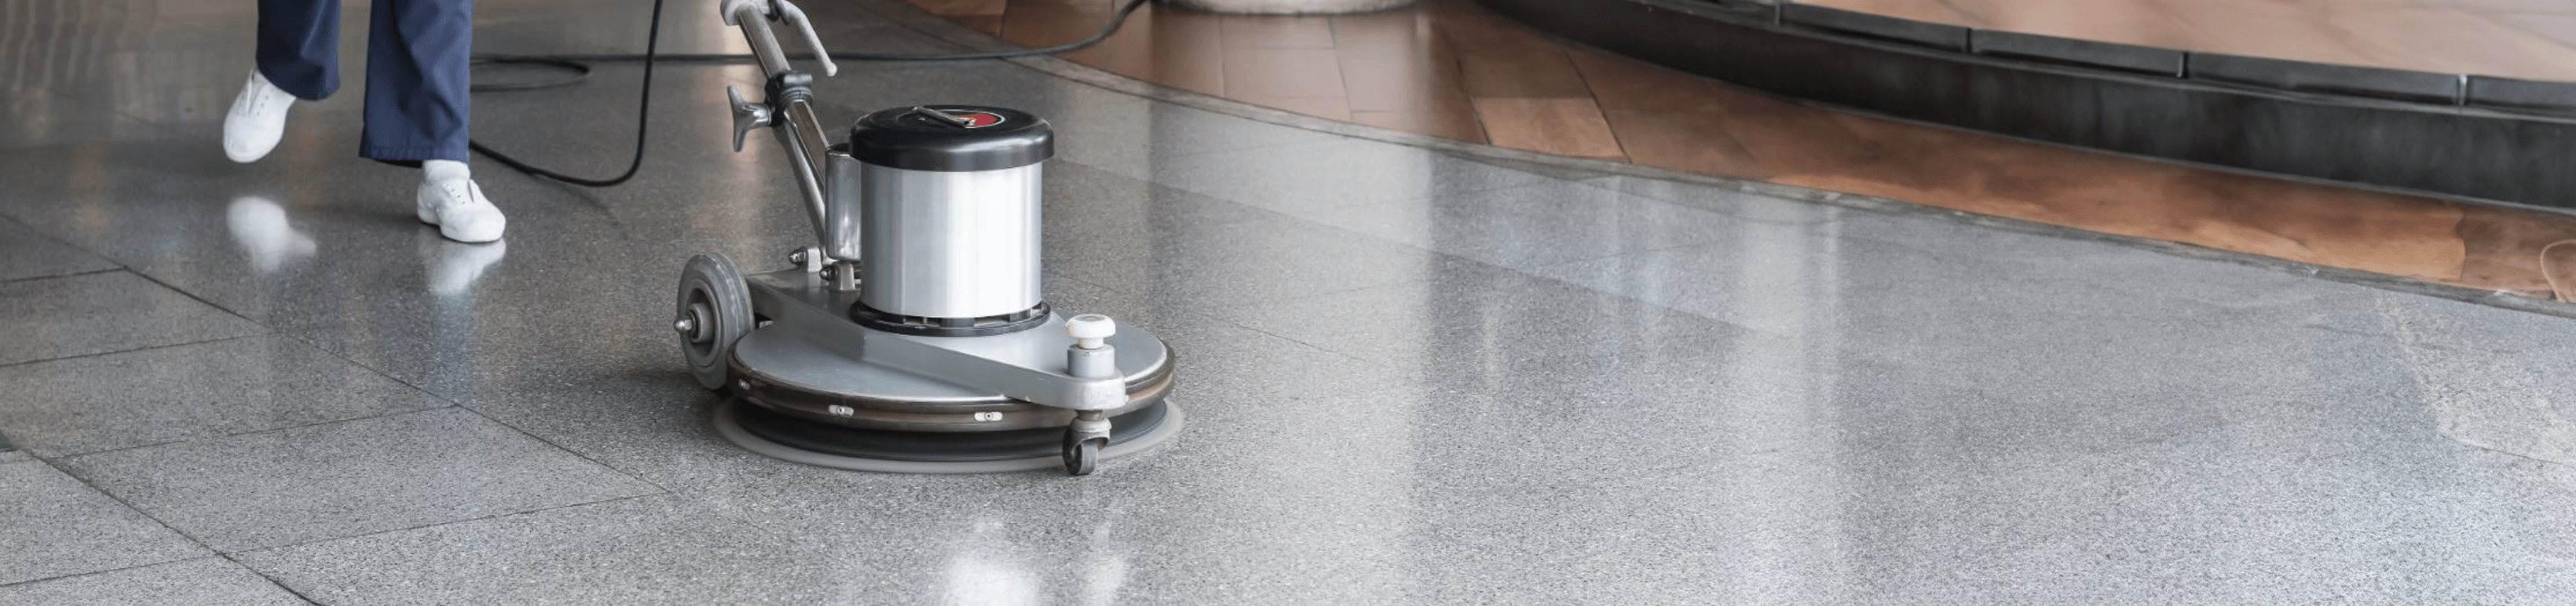
- Burnish Floor: Enhance gloss levels and durability by burnishing the floor using the recommended pad, contributing to a polished appearance.
- Dust Mop Again: Remove any residual dust post-burnishing to achieve a pristine finish.
- Return Floor Mats: Reinstall cleaned mats to continue safeguarding the floor from dirt penetration.
Weekly Floor Cleaning and Maintenance Routine: Restoring Brilliance and Resilience
This process serves as an interim preventative maintenance procedure that restores or adds resiliency back into the floor coating. During traffic, wear and burnishing, many of the properties of a coating is eroded away. A restorative chemical application process replenishes a floor coating which makes it last longer.
- Complete Steps 1-8: Execute the initial ‘Daily Floor Cleaning and Maintenance Routine’ steps to set the foundation for the restoring process.
- Mix and Apply Restorer or Maintainer: Follow the manufacturer’s instructions meticulously for the restorer or maintainer application. Ensure an even and thorough application to revitalise the floor coating.
- Complete Steps 1-10: Resume the daily routine maintenance steps to complement the restorative application.
This weekly routine strikes a balance between restoring the floor’s brilliance and maintaining its resilience, contributing to an enduring and visually appealing floor surface.
Monthly Deep Scrub Maintenance
Deep scrubbing, a preventative maintenance procedure, removes embedded dirt and soil, as well as prepares the surface for 1-3 coats of finish. This crucial process is essential before applying a new finish to prevent trapping any residual dirt within the coating. Re-coating not only enhances the floor’s appearance but also provides a protective shield against traffic, weather, and the rigors of repeated cleaning and scrubbing. Additionally, it contributes to creating a safe and slip-resistant floor surface.
- Complete Steps 1-5: Execute the initial ‘Daily Floor Cleaning and Maintenance Routine’ steps to set the foundation for the restoring process.
- Mix Neutral Cleaner for Deep Scrubbing: Follow manufacturer instructions to prepare a neutral cleaner solution, deploying it in an Auto scrubber equipped with a deep scrubbing pad (preferably green).
- Auto scrub with Heavy Pad Pressure: Deep scrub using the Auto scrubber with heavy pad pressure to effectively eliminate embedded dirt and soil.
- Manually Scrub Edges and Corners: Pay special attention to floor edges and corners by manually scrubbing with the deep scrubbing pad to ensure thorough cleaning.
- Thorough Rinse and Solution Change: Rinse the entire floor surface thoroughly, changing the solution as necessary to guarantee a residue-free outcome. Allow the floor to dry completely.
- Apply Floor Finish with a Clean Rayon Mop: Following the deep scrub, apply the appropriate amount of floor finish using a clean rayon mop as per label directions.
- Burnish When Completely Dry: Once the floor finish has dried completely, enhance its sheen and durability by burnishing with the recommended pad
- Dust Mop for the Finishing Touch: Finish the deep scrub maintenance protocol by dust mopping the entire floor to remove any remaining particles.
Yearly Floor Cleaning and Maintenance Routine: Strip and Recoat
One of the most critical procedures to ensure the success of the floor care program. Stripping involves applying a stripper solution designed to break up and remove old finish and sealer from the floor. Chemical reaction along with adequate machine agitation by the pad or brush is required to strip the floor of old coating dirt, soil and build up.
- Complete Steps 1-5 of Daily Routine Maintenance: Begin by executing the initial steps of the daily routine maintenance to ensure a clean starting point for the stripping process.
- Mix Floor Stripper in Bucket: Follow the manufacturer’s instructions to mix the floor stripper in a bucket. Crucially, verify the stripper’s suitability for the specific floor type.
- Apply Stripping Solution: Generously apply the stripping solution on the floor, ensuring even coverage. Allow it to remain for about 10-15 minutes, preventing it from drying on the floor.
- Manually Scrub Floor Edges, Corners, and Shelving: Employ a stripping pad to manually scrub floor edges, corners, and underneath shelving. Thoroughly address areas that may accumulate more build-up.
- Auto scrubber Application (if applicable):
- Mix neutral cleaner in cold water as per manufacturer’s instructions.
- Equip the auto scrubber with a stripping pad (black, brown, or razorback).
- Set pad pressure for “stripping.”
- Conduct the first auto scrub with the squeegee up, vacuum off, and solution tank on.
- Subsequently, perform another auto scrub with all systems on, including the solution tank.
- If a propane stripping machine is used, scrub the entire floor and pick up the solution with a wet vac or auto scrubber.
- Rinse Entire Floor with Neutral Cleaner: Thoroughly rinse the entire floor using neutral cleaner at the recommended dilution. This step is critical to remove any residual stripping solution.
- Apply Sealer and/or Finish: Apply the appropriate amount of sealer and/or finish using a clean rayon mop, adhering to label directions. Allow the floor to dry completely.
- Burnish with Recommended Pad: Enhance the appearance and durability of the renewed floor by burnishing with the recommended pad.